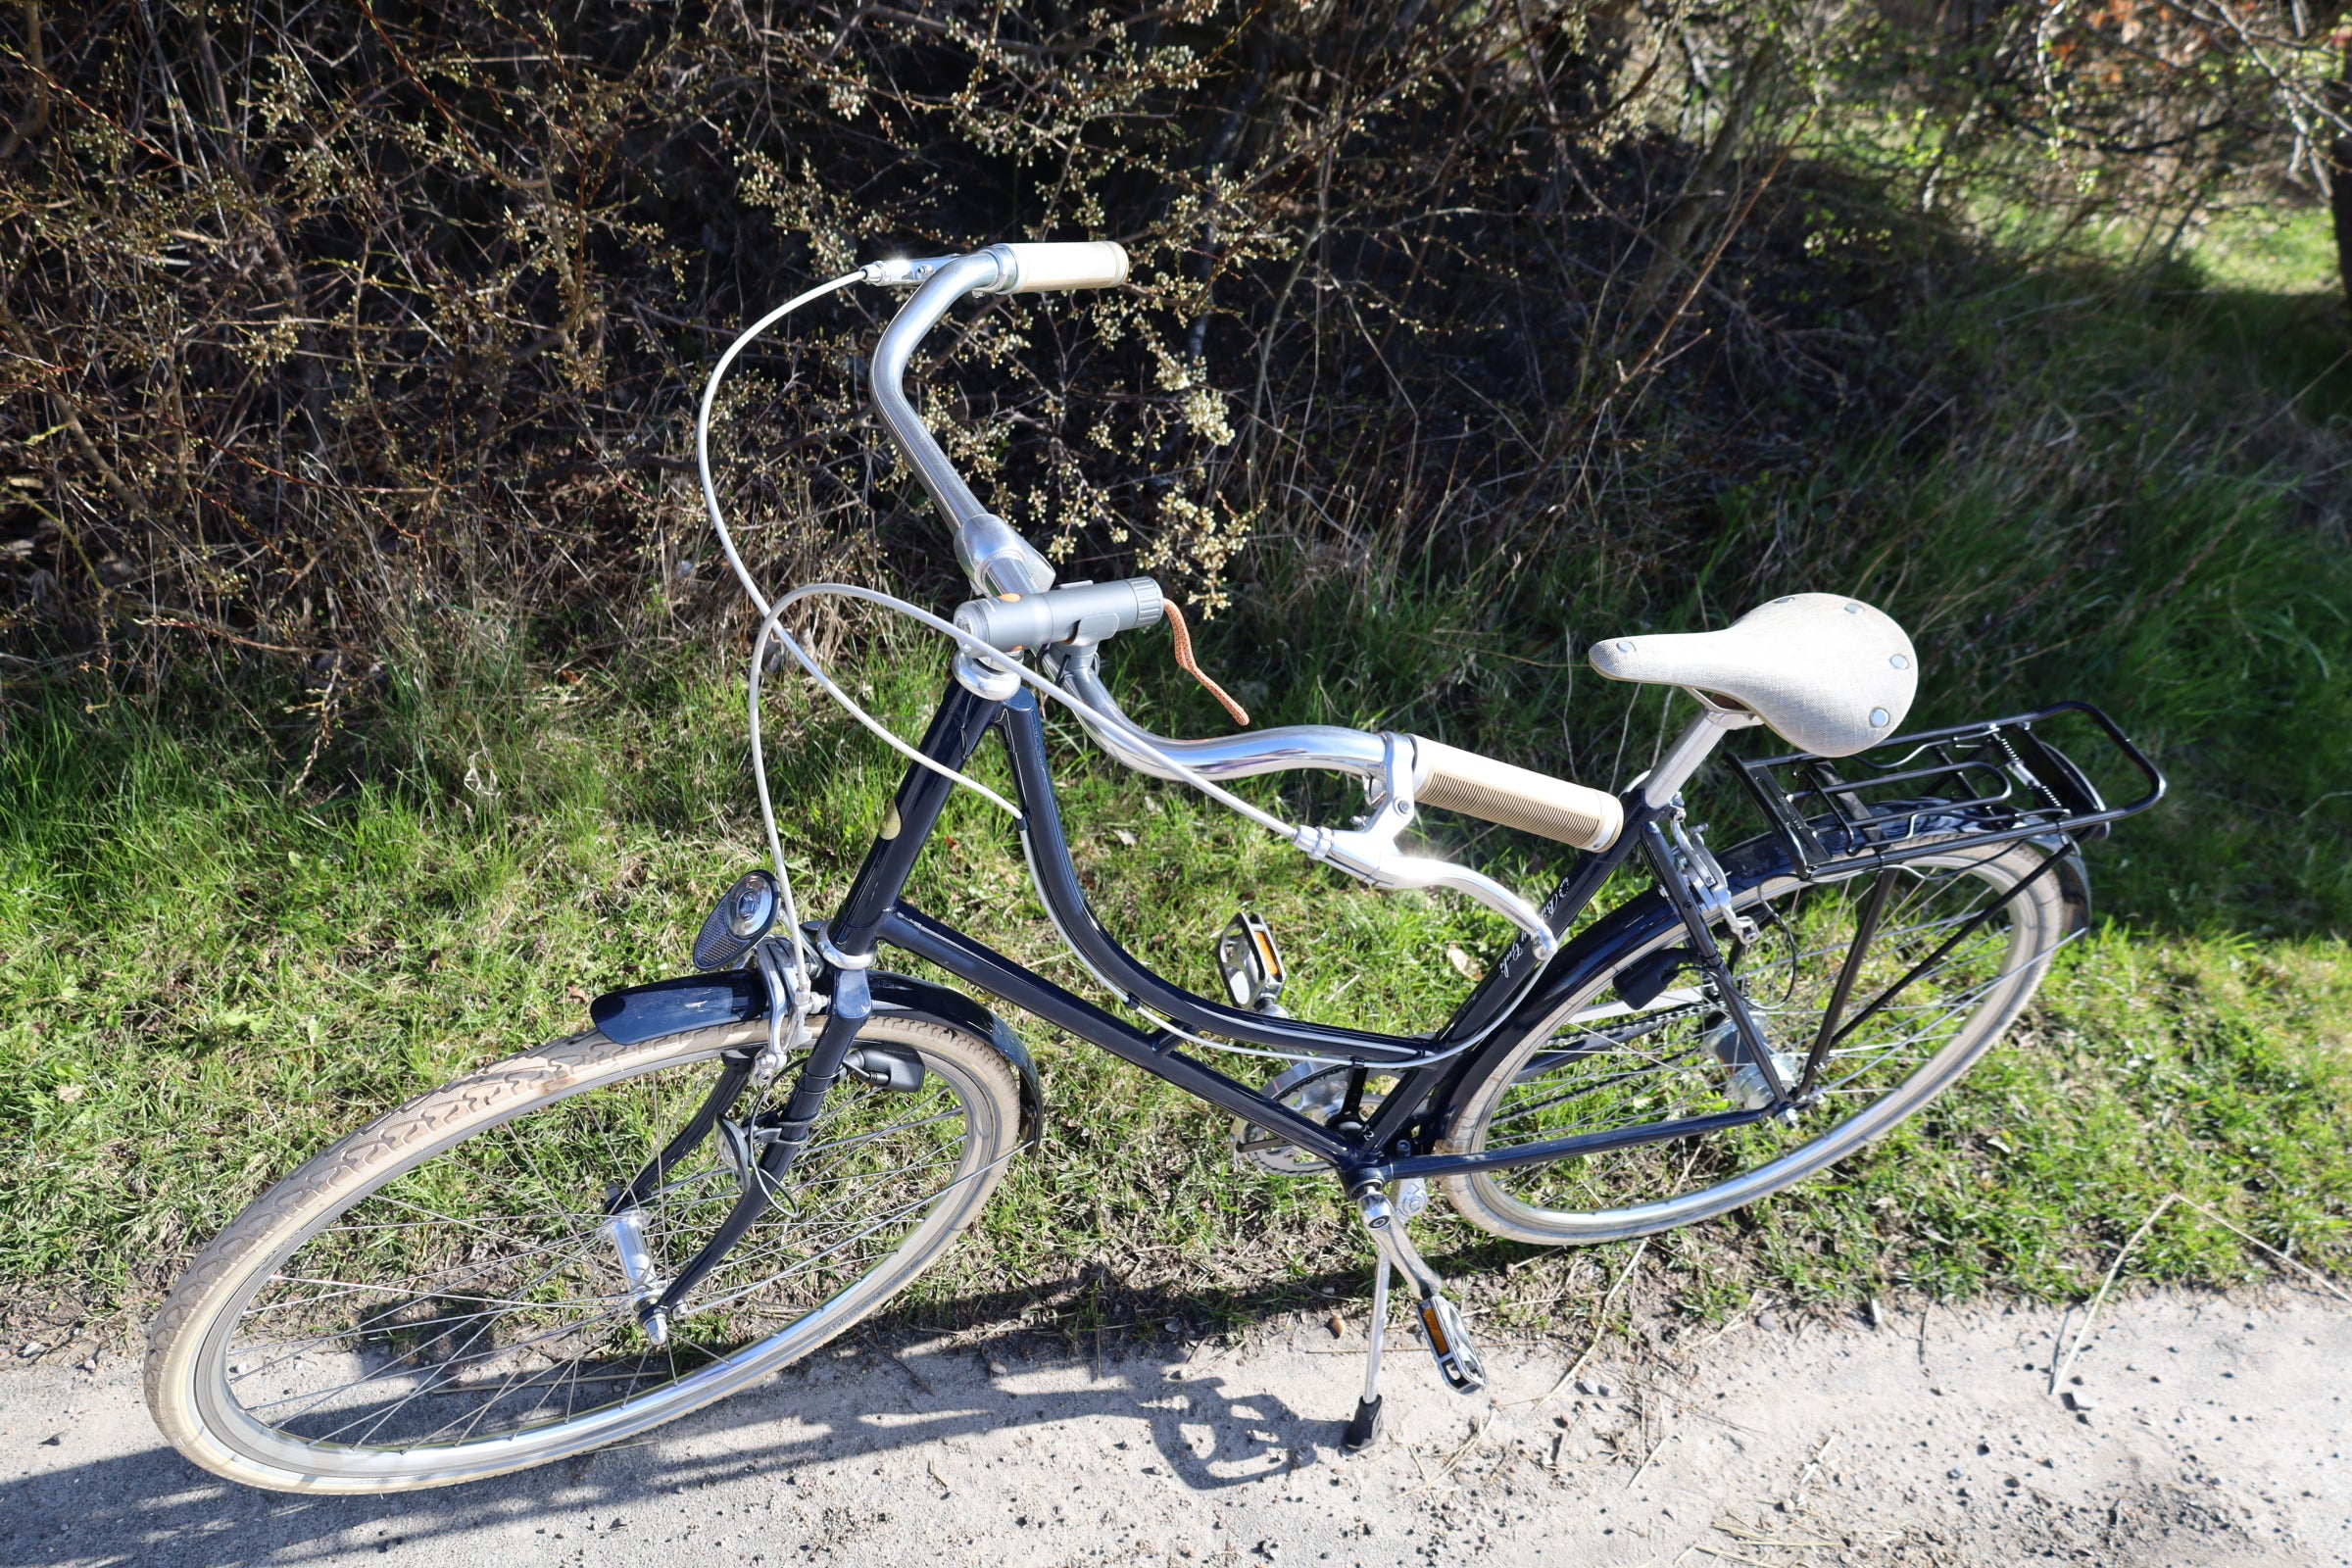
How To: Get Your Bike Ready for Summer!
1. Clean your bike
Start by removing the dust from storage by giving your bike a thorough cleaning. Use a gentle cleaner to avoid damaging the paint or components. Remember to pay special attention to the drivetrain, which tends to accumulate grime, and make sure to clean the chain, cassette, and derailleur pulleys. Be on the lookout for any broken or loose components that may require some tending to.

2. Inspect your tires
Check the condition of your tires and make sure they are inflated to the recommended pressure. Some bikes that have sat in storage for the winter season might need some extra attention, but it is always a good idea to make sure your tires are pumped up before every ride - tires with an adequate level of inflation will provide a smoother and safer ride while aid in avoiding flat tires on your trail. Look for any cuts, cracks, or bulges on the sidewall or tread. If your tires are worn out or damaged, consider replacing them before you hit the road.
3. Check your brakes
Working brakes are key in making sure you're staying safe on your ride: they should react quickly and firmly. Ensure your brakes are working properly by squeezing the levers and checking the pads, as they might be out of alignment. An easy way to check this is to lift the tires off the ground and spin the tires. If you notice any drag and the wheels slow to a halt, the alignment might be off. If the pads are worn down - you can check for this by seeing if the pads have any wear indicators (lines) or metal poking through - it's time to replace them. Also, make sure the brake cables are properly tensioned and lubricated. Check them for spots with loose strands or rust.
4. Lubricate your chain
The chain is the heart of the bike. Therefore it is extremely important to make sure your chain is in the right condition before riding your bike again. Start by wiping it with a towel and if the chain contains a lot of rust, dust or is a little sticky, give it a few sprays of some degreaser. Make sure to wipe the chain free of fluid afterwards, or alternately, let it dry before lubricating the chain. Use a small brush to go in between the links and go over the chain with a heavy magnet to remove unruly metal fillings. Finally, apply lubricant to your chain to keep it running smoothly and prevent rust. Wipe off any excess oil with a clean rag to prevent dirt and debris from sticking to the chain.
5. Check your gears
It is important to check your gears to see if your bike is having difficulty shifting gears or staying in gear. To do this, first, raise the bike off the ground and either put it on a bike stand or turn it upside down, so you can spin the wheels freely. Next, locate your derailleurs: your bike should have one on the back wheel, attached to the cassette (the collection of gears) and another smaller one near the pedals. Check the derailleur for anything such as leaves or sticks that might be stuck in there and clean them with a damp cloth. Next, you can shift through all the gears and make sure they are working correctly. Adjust the derailleur if necessary to ensure smooth shifting.
6. Inspect your cables
Unless your bike has hydraulic disc brakes or electronic shifting, your bike will likely have its brake and gear system in place through cables. Check the condition of your brake and shift cables by looking closely to see if they are frayed or damaged. If so, you might have to replace them. If not, ensure that they are properly tensioned and lubricated.

7. Check your saddle and handlebars
Make sure your saddle and handlebars are properly adjusted and tightened. You can adjust the saddle and handlebar with metric Allen keys or spanners. To check if your saddle has to correct height, do the following:
- Sit on your bike while having someone holding the front of the handlebar or leaning it against the wall.
- Put both feet on the pedals and pedal backwards until one of your feet is pointing down and the other one as high as possible.
- Move the foot closest to the ground forward so your heel is on the pedal. You should then have a straight leg so that when you are pedaling on the ball of your foot, you have just a slight bend in the knee.
- If your leg isn't straight, or your feet can reach the pedal, you have to adjust your seat with an Allen key at the saddle clamp.
To check if your handlebar has the correct height has to do with preference. If you feel pain in your neck, back or arms after a bike ride, consider that your handlebars might be too low. If you prefer to ride more aerodynamic you can adjust the handlebar stem to get your bars lower.
Finally, test the brakes and shifting while sitting on the bike to make sure the position is comfortable.
8. Test-ride your bike!
Take your bike for a short ride to make sure everything is working properly.
Make any necessary adjustments before hitting the road for a longer ride.
By following these steps, you can get your bike ready for summer and enjoy many miles of safe and fun riding. Happy cycling!
